Do you want to keep your kids and pets safe, stay up to code, and still enjoy an open, beautiful backyard?
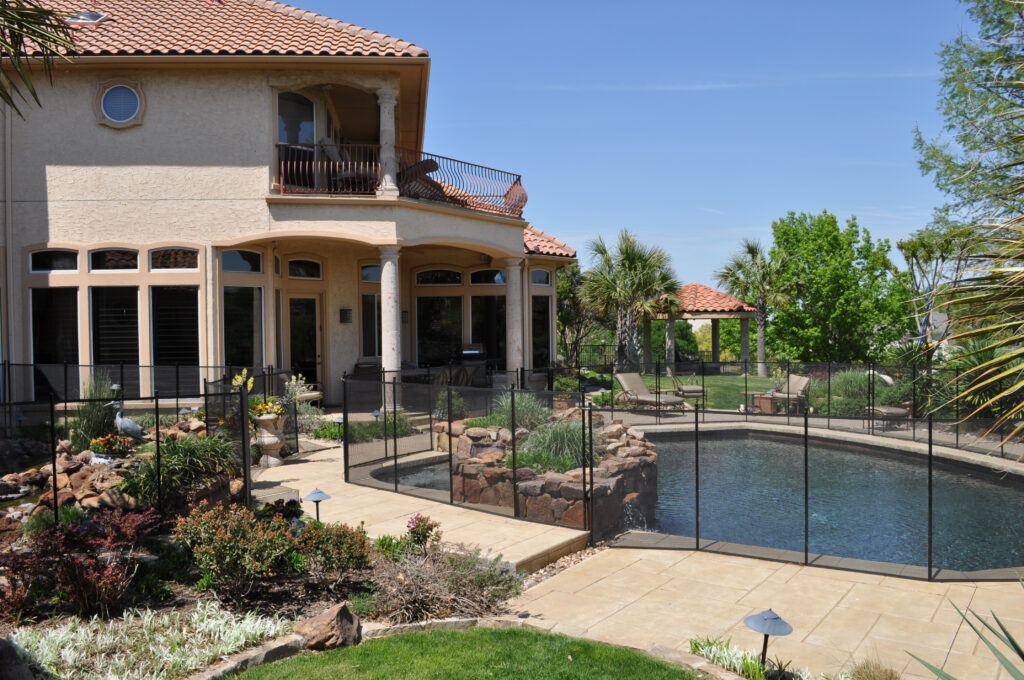
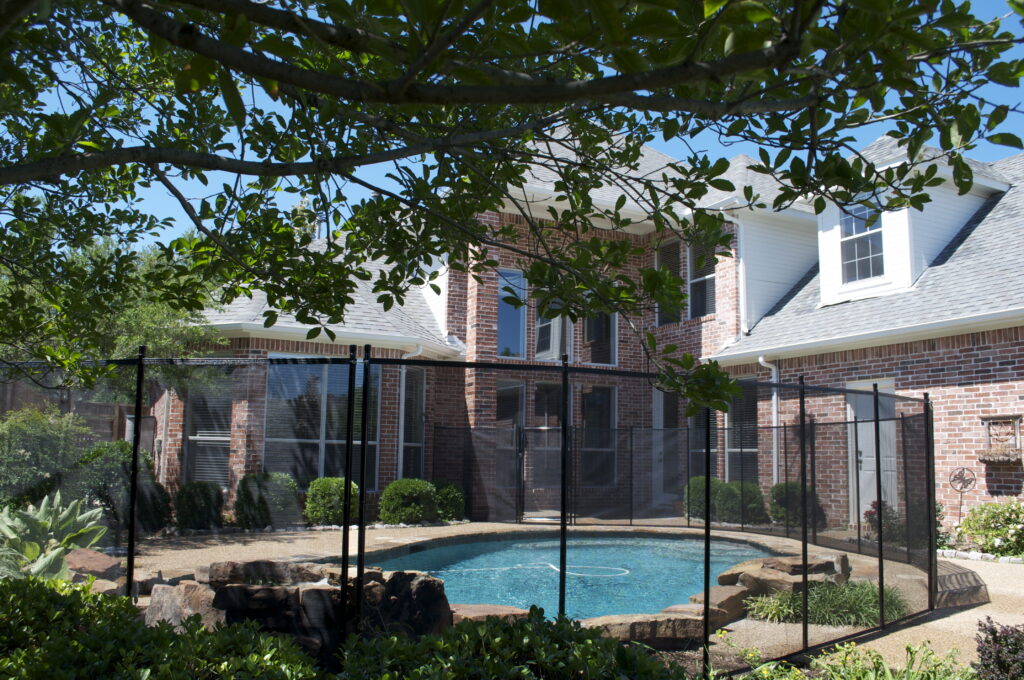
Then you’ll want to consider a removable pool fence. A removable mesh pool fence is one of the safest, most flexible solutions available, and proper removable pool fence installation is key to making it truly effective. When installed correctly, it creates a sturdy, climb-resistant barrier that’s easy to take down when you need access, and strong enough to protect your loved ones when it matters most.
In this step-by-step guide, we’ll walk you through everything you need to know to install a pool fence the right way, safely, securely, and in full compliance with national safety standards.
First things first, decide where the fence will go. Start by sketching a rough map of your backyard, noting dimensions, changes in elevation, and any features that might interfere with a straight fence line.
Always aim to install the removable pool fence at least 20 inches away from the water’s edge. This distance prevents someone from falling into the pool if trying to climb onto the fence. Anything less than 18″ creates a cramped workspace and increases the chance you’ll have to step through the fence, defeating its purpose.
To get it right:
A clear, well-documented plan not only speeds up installation but also helps ensure your removable pool fence works exactly as designed: a seamless, code-compliant barrier that keeps children and pets out of harm’s way.
Avoid placing it near things kids could climb on, like planters or benches.
With measurements and obstacles mapped, it’s time to mark the holes. Ideally, the holes should be placed with a 36-inch space between each pole. If you have curves, use tighter spacing for better support.
If you have curves, use tighter spacing for better support.
Once all your sleeve positions are marked, it’s time to drill.
Use a hammer drill fitted with a 1-1/8” masonry bit. This size matches the diameter of most standard pool fence sleeves. Make sure your drill is set to hammer mode (not just rotation) so it can cut efficiently through concrete or pavers.
At each marked spot:
After drilling, vacuum out the dust from each hole. Clean holes help sleeves sit flush and prevent long-term movement or wobbling.
Once all the holes are drilled, the next step is to install the mounting sleeves, small tubes that your pool fence will slide into.
For extra durability, you can apply a thin bead of exterior-grade silicone sealant around the base of each sleeve flange. This helps block water and dirt from seeping into the hole.
Now that your sleeves are securely in place, it’s time to install the actual fence. This part involves sliding the poles into the sleeves and attaching the mesh panels in a way that keeps everything tight, straight, and secure.
Before you start connecting anything, it helps to know what you’re working with.
| Type | Description | Pros | Notes |
| Standard Textilene® Mesh | Woven polyester mesh with PVC coating | Strong, weather-resistant, see-through | Most common; meets ASTM F2286 standards |
| High-Density Mesh | Tighter weave, more rigid | Offers more privacy, slightly stronger | Less see-through and may cost more |
| Transparent Vinyl-Coated Mesh | Less weave, more film-like | Sleek look, very low visibility | Slightly less airflow; can get hot in the sun |
Use a level to spot-check the plumbness of your first few poles. If they’re off, it will throw off the whole line.
Start at one end of the fence layout and work your way around the pool.
Here’s how to attach the mesh:
Once all panels are connected:
If your removable pool fence includes a gate, and we strongly recommend that it does, now is the time to install it. A self-closing, self-latching gate is essential for both safety and code compliance, as it’s the only intentional entry point into your fenced pool area.
After the removable pool fence installation, test the gate by swinging it open to 90 degrees. It should close and latch on its own without needing a push.
Before calling your installation complete, take a few minutes to inspect the entire fence. This ensures that your removable pool fence is not only secure and level but also code-compliant and effective in preventing unsupervised access. You’ll need to check the:
Once your fence is up and your safety check is complete, you’re ready for the final touch: deck caps.
Deck caps are small plastic or metal covers that snap over the tops of the mounting sleeves when the fence is not in use. Their purpose is twofold:
As long as the removable pool fence is installed according to code (e.g., minimum 48″ height, proper latch height, gap clearance, etc.), a DIY installation can be fully compliant. However, for added peace of mind, many homeowners choose professional installation to ensure proper alignment, tension, and code compliance.
Most DIY homeowners can install a fence around a standard backyard pool in 4–6 hours, depending on the fence length, number of corners, and gate placement. With proper planning, experienced installers may complete the job in under 3 hours.
Yes. High-quality Textilene® mesh and aluminum poles are designed to last for many years with seasonal use. Just make sure to clean the panels, store them in a dry place, and use deck caps to protect the sleeves when the fence is removed.
When properly installed, yes. Removable mesh fences that meet ASTM F2286 standards are designed to withstand climb attempts, impacts, and strong pressure. The tension in the mesh, anchored poles, and proper spacing create a reliable safety barrier.
Whether you’re doing it yourself or working with a professional, removable pool fence installation is one of the best ways to protect your children and pets from pool-related accidents.
We’re here to help with premium-grade safety products, expert advice, and professional installation across the U.S. Visit us to get a quote, speak with a certified installer, or explore our mesh fence systems built to last.
Pool Safety Fences is a web property of Pool Guard. Pool Guard is a pool safety equipment manufacturer specializing in pool safety fences along with installation services throughout the United States.
Please fill out the form below with your information. Your local dealer will be notified about your inquiry.
Please fill out the form below with your information. Your local dealer will be notified about your inquiry.